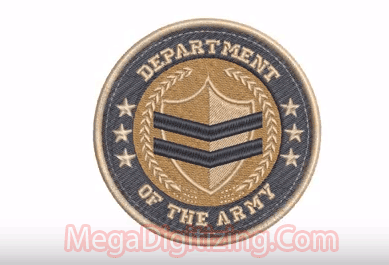
Using Embroidery Digitizing Software is an art. The process of creating embroidery objects on screen is called Embroidery Digitizing. Like design creation in CorelDraw Graphics, embroidery digitizing software involves using ‘input’ or ‘digitizing’ methods. In this article, we look at creating an embroidered badge using tools available from the Graphics Digitizing toolbar.
We are using Wilcom Studio embroidery digitizing software.
Setting Up for Embroidery Digitizing logo
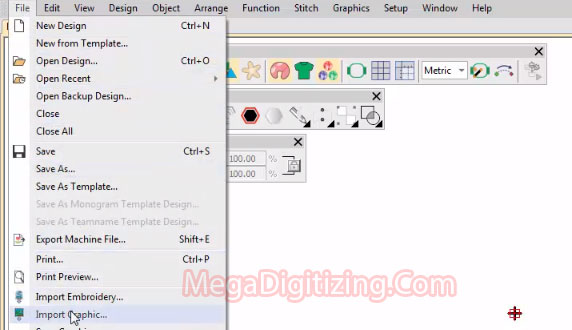
1 – Setting up,Set up a blank design file and import artwork.
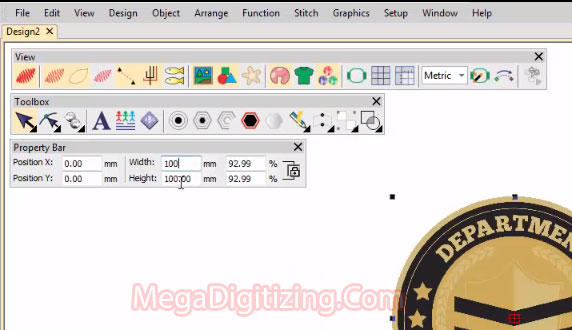
2- Size the artwork for the target garment or item – in this case, we are using a badge. Press K to lock into position.
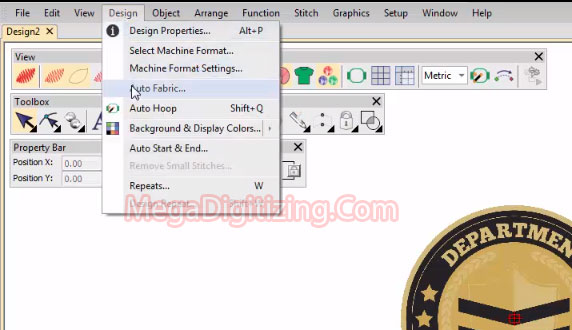
3- Choose a fabric to suit the type of fabric you are stitching on. Study your artwork and decide on the best digitizing order, colors and stitch types and set up the design palette.
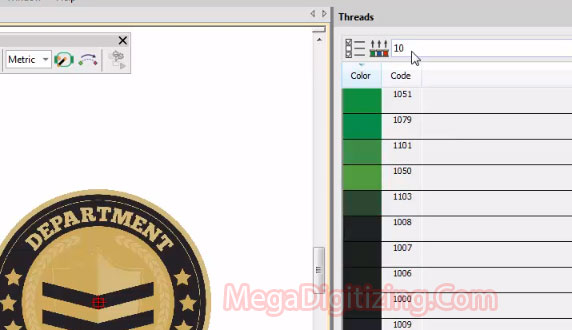
4- If you already have thread codes, use these to search the selected thread chart.
Digitize the logo Shape
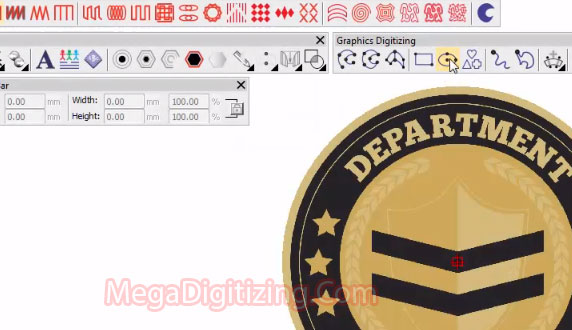
1- Use the Ellipse tool to create the primary circle as shown. Digitize a smaller, inner circle fill object.
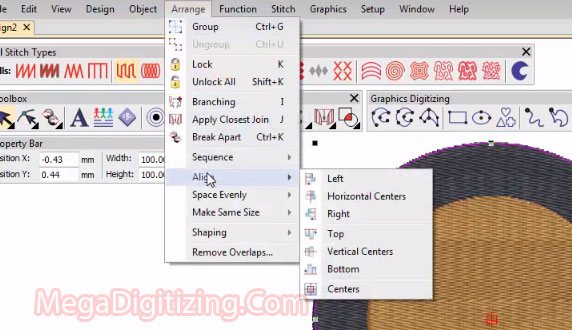
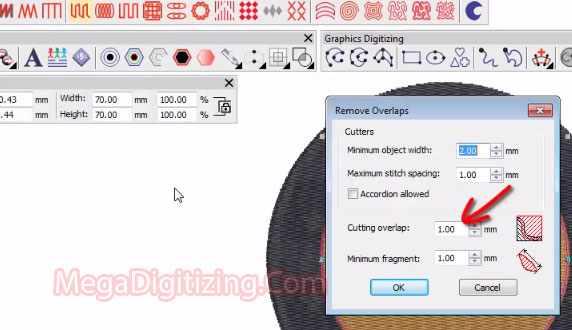
2- Use the Arrange command to align centers. Use the Remove Overlaps function to remove underlying stitching.
3- Set a cutting overlap – in this case, 1mm.
4- Adjust the stitch angle with the Reshape tool. Move the inner circle below the outer circle by re sequencing.
Digitize the shield and fletches
1- Digitize the shield outline with the Digitize Closed Shape tool with Satin stitch.
2- Using the Closed Shape tool, digitize the inner shield with Tatami stitch. With the Digitize Column tool, digitize the first fletch.
3- Select the fletch and quick clone it by right-click and drag.,Again using the Remove Overlaps function, select shield and fletch objects, set an overlap of 1mm.
4- Now, Check the result by clicking the Locate button on the Color-Object List.
Digitize the laurels
Digitize the laurel with motif run to complete the circle.
Add details with a combination of Closed Shape and Open Shape tools.,Choose the laurel objects and use the Mirror-Copy Horizontal tool to reflect the about the design center.
Digitize the lettering
Using the Lettering tool, create the upper lettering using an Arc CW baseline together with College font
Adjust height, width, and spacing settings and Use the same technique to create lower lettering with an Arc CCW baseline.
Fine-tune spacing with the Reshape Object tool
Digitize outer circle details,With the Basic Shapes function, you can quickly generate a star for the outer circle.
Quick-clone for the other stars.,Again, use Mirror-Copy Horizontal to copy them to the other side.
Using the Outlines & Offsets function, quickly create borders for the outer circle and delete the inner border.
Finalize for stitch out
Check the underlay settings for the main shapes and Make sure it is adequate for the chosen fabric.
Use the Color-Object List to adjust the stitching sequence as necessary
Select all objects and apply Closest Join.,Run the Stitch Player to visualize the final stitch out.
If available, use the Array tool to create multiple copies of the design for faster stitch outs.
As you can see it’s lots of skills require to cover embroidery digitizing software, Mega Digitizing can take care all of this for you with great quality. We been in digitizing business since 10 years. Our rate is very competitive and we also provide sample sew out from our machine in small fee if requested. We are running promotion offer for left chest or cap designs i.e any left chest or cap in $12 each.
Click here to signup for our Promotion Offer
CLICK HERE TO REGISTER WITH US


